The third part in a series on making your own podcast that won’t break the bank, concentrating on DIY and low-cost podcasting. Please read part one, and part two first.
Pop it like it’s not
My first mic on my podcast was a cheap lavalier (‘tie-clip’) mic taped to a tripod – I’m not proud! I think this is the one area that invites crazy levels of shiny thing worship, and although the best mic is the one you have, and have learned inside out, I partially agree that this is the one area you should try and acquire the best you can afford, borrow, etc. But it’s better to start now, and work with what you have rather than podcast in the never-never.
Some might poo-poo the early podcasters who used built-in laptop and phone mics, but that still is an option (if you go that route please investigate whether you have a ‘noise reduction’ setting on your device, especially if it sounds watery or noisy). You might also have a phone or computer headset, or headphones with a mic which can sound surprisingly good. But I’m pretty sure you’ll find even a really cheap or second-hand or borrowed mic will sound a lot better than these tiny mics – we are talking the range $10-$70/£10-60. But use what you have, and if it doesn’t sound as good as you’d like, only then upgrade.
There are many types of microphone but they roughly fall into two categories, dynamic and condenser. There is all kinds of technological faff which you can look up on Wikipedia, but to grossly generalise: all you really need to know is condensers are more sensitive as in pick up more sound around them, and dynamic mics don’t. So that means condenser then, right?
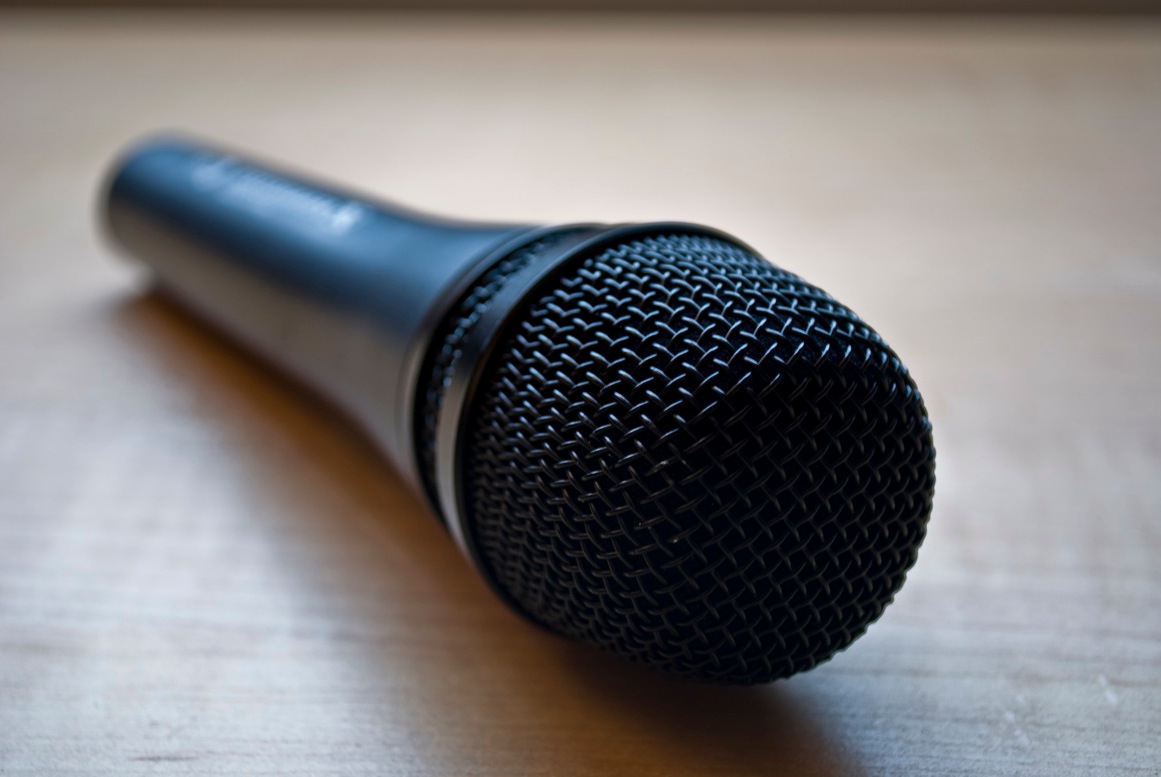
No, not exactly. Sensitive isn’t always better, like that fragile emo kid at school…If you are recording in a loud space they will happily bring the noise and turn your podcast into sounding like rush hour at the main train station. And indeed they are sensitive to knocks and bangs – you can drop a dynamic mic and it will survive, do that with a condenser mic you will probably end up with a nice-looking paper weight.
Also condensers need power, either with batteries for smaller mics or from the mixer or interface. This is called ‘Phantom Power’ which sounds like some kind of ghostly superhero. This might not be convenient, or indeed a good idea if you are recording outside or remotely with limited battery power.
They both sound different as well – so if you have to buy a mic, best to try them out first or buy a cheap one and play with them. Condensers tend to be – and this is not scientific before y’all write in – breathier and ‘trebly’, better at higher sounds, and dynamics tend to be duller and better at bass sounds, and thus suit certain voices and presentation styles….if you go all GG Allin on the mic, shout, scream, and treat it as spare hammer then dynamic mics are probably for you. In fact this is why dynamic mics are used on stage, they survive the abuse of touring and performance. Also dynamic mics tend to be cheaper as they require less electronics inside, they are a simpler technology involving magnets (don’t tell Insane Clown Posse about that).
If you want the closer, more intimate sound, tend to be quieter and restrained and want a faithful reproduction of your voice, then condenser mic is good – the choice of studios worldwide, but they can also afford a space that isn’t echoey or noisy, and treat that space for the optimum recording (more about that later) which might not be possible.
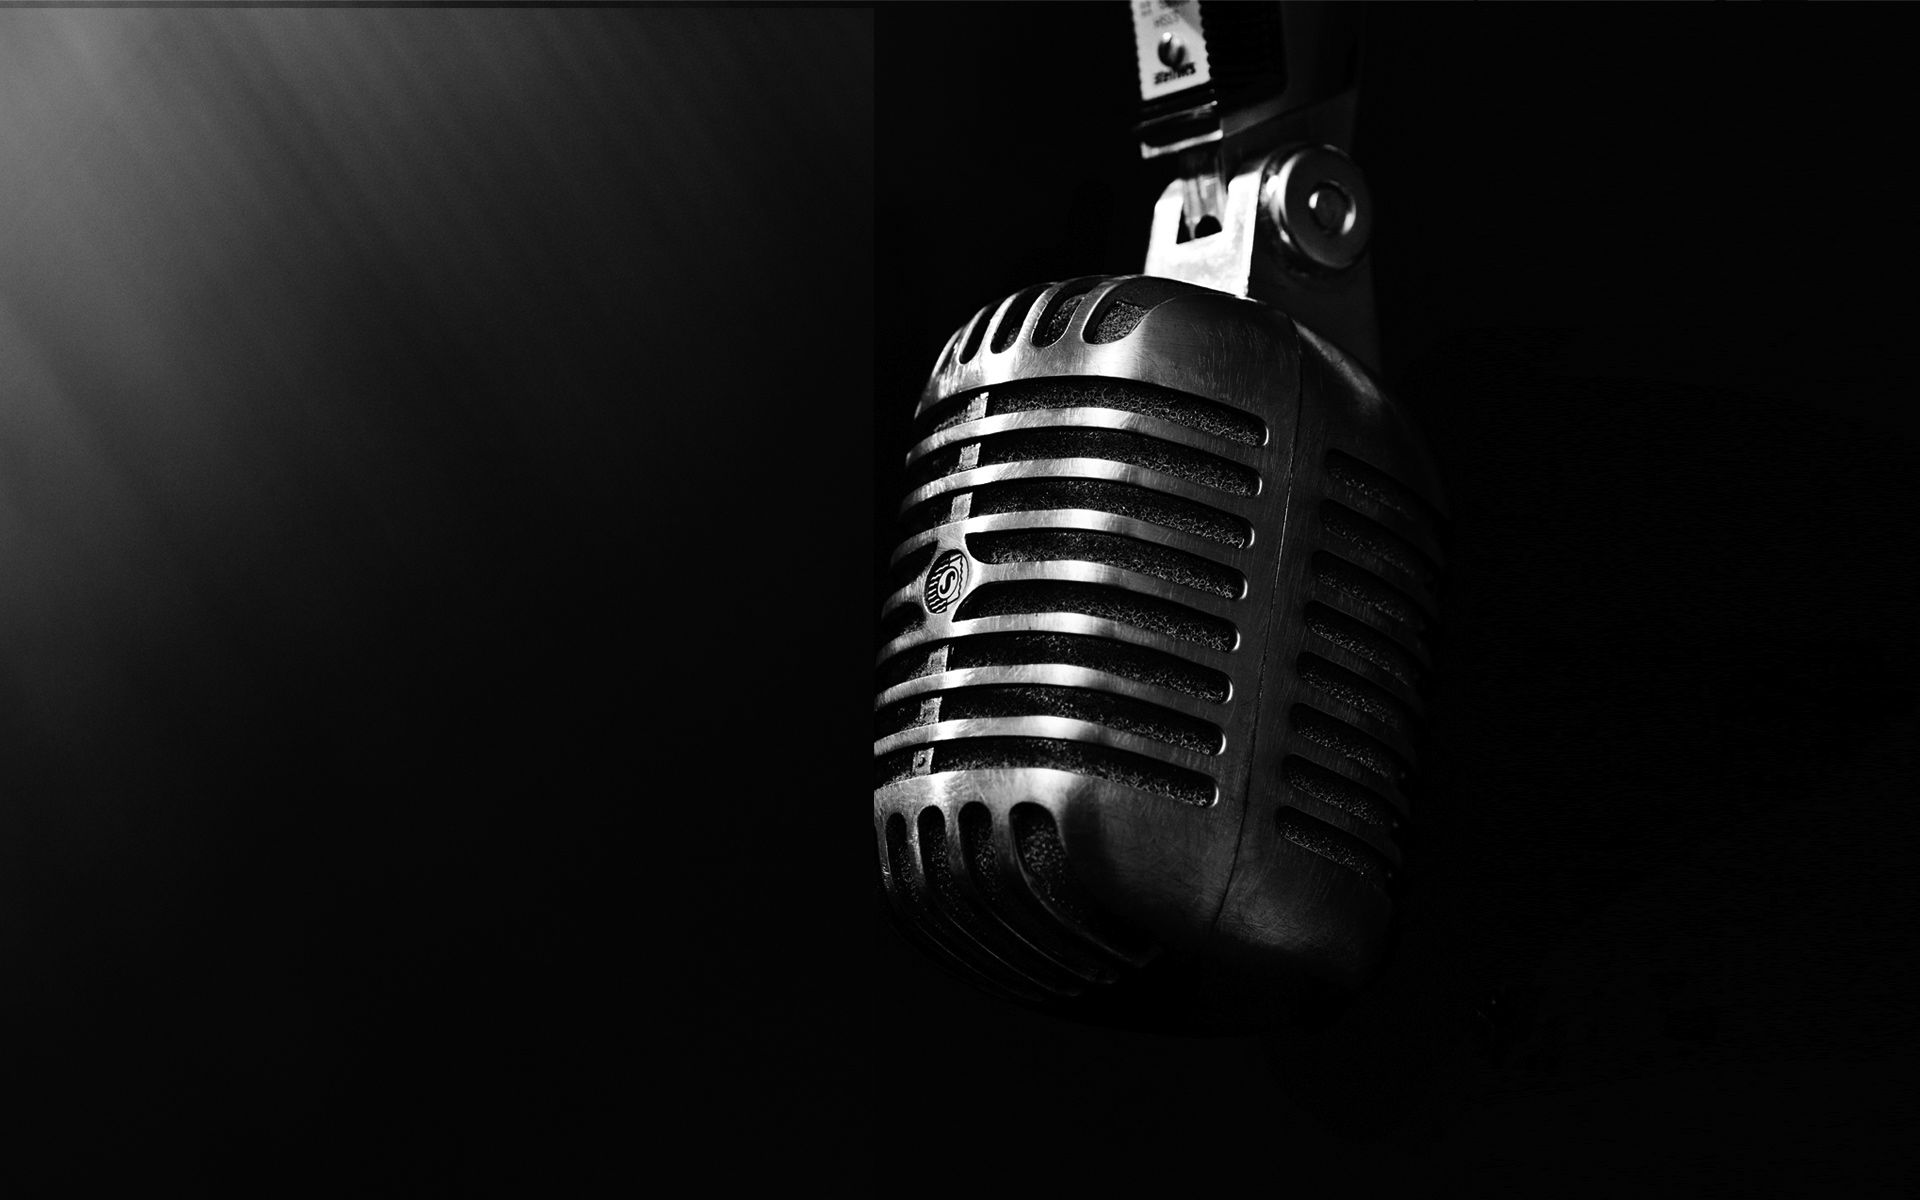
Then within those two other groups you have another choice, which connector you want to use: USB or analog (XLR/jack connector)?
USB mics plug straight into your computer and need no mixer or audio interface, and as a result tend to be a little more expensive. Mics with the older XLR or 1/4 or 1/8″ audio jack (like a headphone connector) are an older technology – in fact most mics are based on the same mics used in the 1950’s and 60’s, so have been widely copied – and need extra gear to boost the volume and convert those sounds into the computer or device.
Most audiophiles HATE USB mics, which I don’t get, as they both sound good, and the convenience of USB mics tends to offset the flexibility or slight audio quality you lose. I guess they are just familiar with the old setup? Certainly whether you’re planning to upgrade, have the space or have a gear already will affect your choice, the old way is more modular as you can upgrade each part, but you pay for that. Personally I love my AT2020+ USB because although it’s a little more expensive that say a Pyle mic plus Behringer USB mixer, it has a mixer built in, a monitor that means I can hear my voice and the music at the same time.
This also avoids a problem with cheaper USB mics – if you want to hear your voice while you record, and believe me that does help give a good performance, you will get an echo because there will be a slight delay (called latency). Try speaking to an echo of yourself and you’ll probably start sooooundddinng liiikkeee thiiiiss as your brain does a mental timestretch trying to keep up with what it’s hearing, which onboard monitoring avoids.
And anyway, I don’t have the space for a mixer or interface, and value portability – but your situation will be different.
I started with that apocryphal tie-clip, and then got a Sennheiser dynamic mic (hmm, less cheap now, but believe me the old e815 is almost as good as the e835 if you can find that) and small cheap mixer which I used for many years, so I have used both. I eventually got a large diaphragm condenser microphone, an Audio Technica 2020 and a better mixer, and now am using the USB version of that mic. The switch was partly because it fits my style and voice, and also I was recording guests and found that I could get away with one condenser mic than wire up many dynamic mics which was a faff.
I also had what a friend labelled as the ‘Big Black Cock of Death’ (thanks Steve!) which was a video shotgun/boom mic, very useful for interviews as it’s what’s called a ‘focused’ condenser which only records sounds close to the mic. This partly contradicts what I’ve just said, which was a gross generalisation, in fact there are hybrid mics and audio engineers have been working for decades to offset some of the deficiencies with both types!
But this brings me to another point: don’t ignore mics for video. You can pick up cheap mics that are durable and just as good without the ‘podcaster’ or ‘pro audio’ tag, or maybe like me already have one? Tie-clip mics, shotgun mics, on-camera mics…all usually pretty good if you stick with a well known brand.
Talking of which, reliable brands to buy which have never let me down are Sennheiser and Audio Technica, and you won’t go wrong with anything from Shure/AKG/Neumann as they invented many of the mics that other companies are ‘inspired ‘ by, copying being a form of flattery after all. I’ve heard good things about Rode, Samson and Blue – and cheaper copies like Behringer, Pyle and MXL, but with the latter and Chinese ‘no-label’ gear please check reviews…and run any Amazon reviews through Fakespot.
That doesn’t mean they are any less usable, they are a lot cheaper but you have to work a bit harder to spot the good ones.
Spot The Patterns
Another thing on this seemingly never-ending list is the polar pattern. Polar what? Is that fashionable knitwear for polar bears? No, it’s just the area within which the mic picks up sound.
Most mics are a variant of cardioid, which is a fancy word for ‘in front of the mic’ or ‘unidirectional’.
One to watch out for is omni-directional, which means it picks up sound in an (almost) 360 degree sphere around the mic. So it picks up your mates around the table, but also that dripping tap, the cat, the noisy radiator or air conditioning…omni is great for group discussions around a table but solo chats it will pick up all kinds of noise you don’t want. Quite often these mics can switch between cardioid and omni – make sure yours is setup correctly if it can do that. As you can also record groups with cardioid mics (they just have to be in front of it, or you use several), I’d suggest getting one of those unless your podcast is only table discussions or some sort of binaural sound experiment.
Rockin’ the Mic With The Pantyhose
Put your hand in front of your mouth – or not I don’t care but you don’t get a Rebel of the Month badge here – and say anything starting with P – POTATO! PANTS! PANCAKE! or F, FANNY! FUNCTION! FRANK! or a swear word of your choosing – go on, it’s good for you. (Unless your boss or parents are listening).
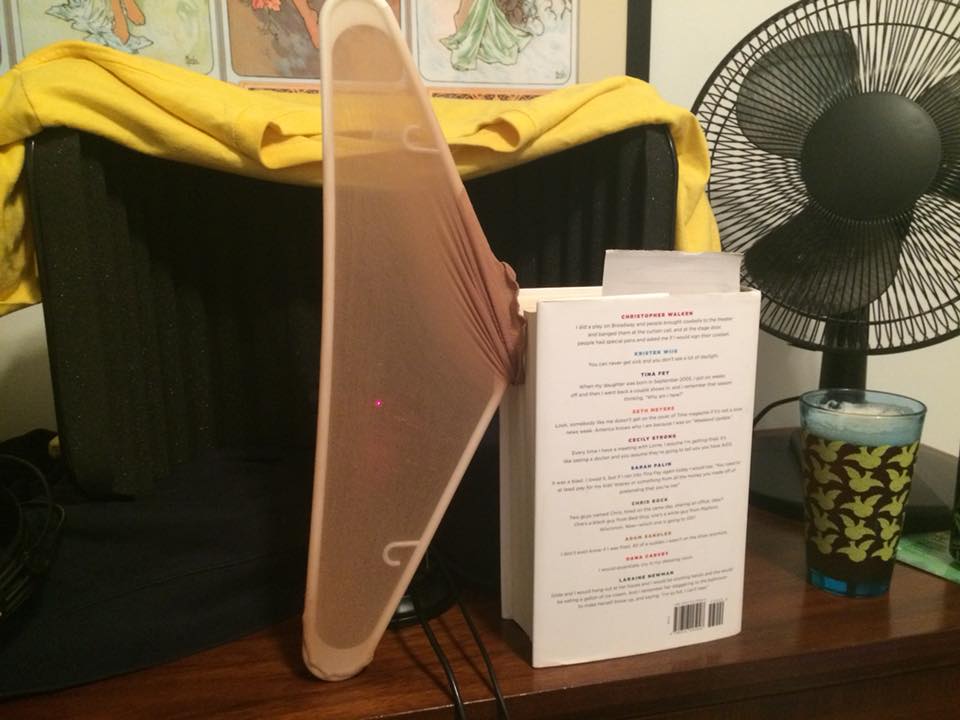
You’ll notice a little blast of air hitting your hand, these are called plosives and they make an annoying pop or dull thudding sound as they hit your mic. So you need a pop shield until you learn to stop popping (it’s hard to “swallow your p’s” but possible). Usually someone will tell you to go and buy one, but you can make one from a coathanger and tights just like in the picture above.
Or you can do what I did after my DIY pop shield fell apart, and get a cheap ‘splatter guard’ which is designed to catch oil spitting from frying pans, and quite often found in pound shops. It has a handy handle too! Believe it or not it sounded different to my ears, more metallic…
Taking a Stand
You need something to hold up the mic – some come with a little stand or have one built in, or some mics you can hold. Beware handling noise though, such as the sound of your hand or clothes on the mic (or you could podcast naked!). If it’s cheap dynamic you can prop it up, tape it to a broom, use or adapt a photographic or lighting tripod (you can even get little brass adapters to convert the bit you screw in to the size for mics…yes of course they are different gauges.).
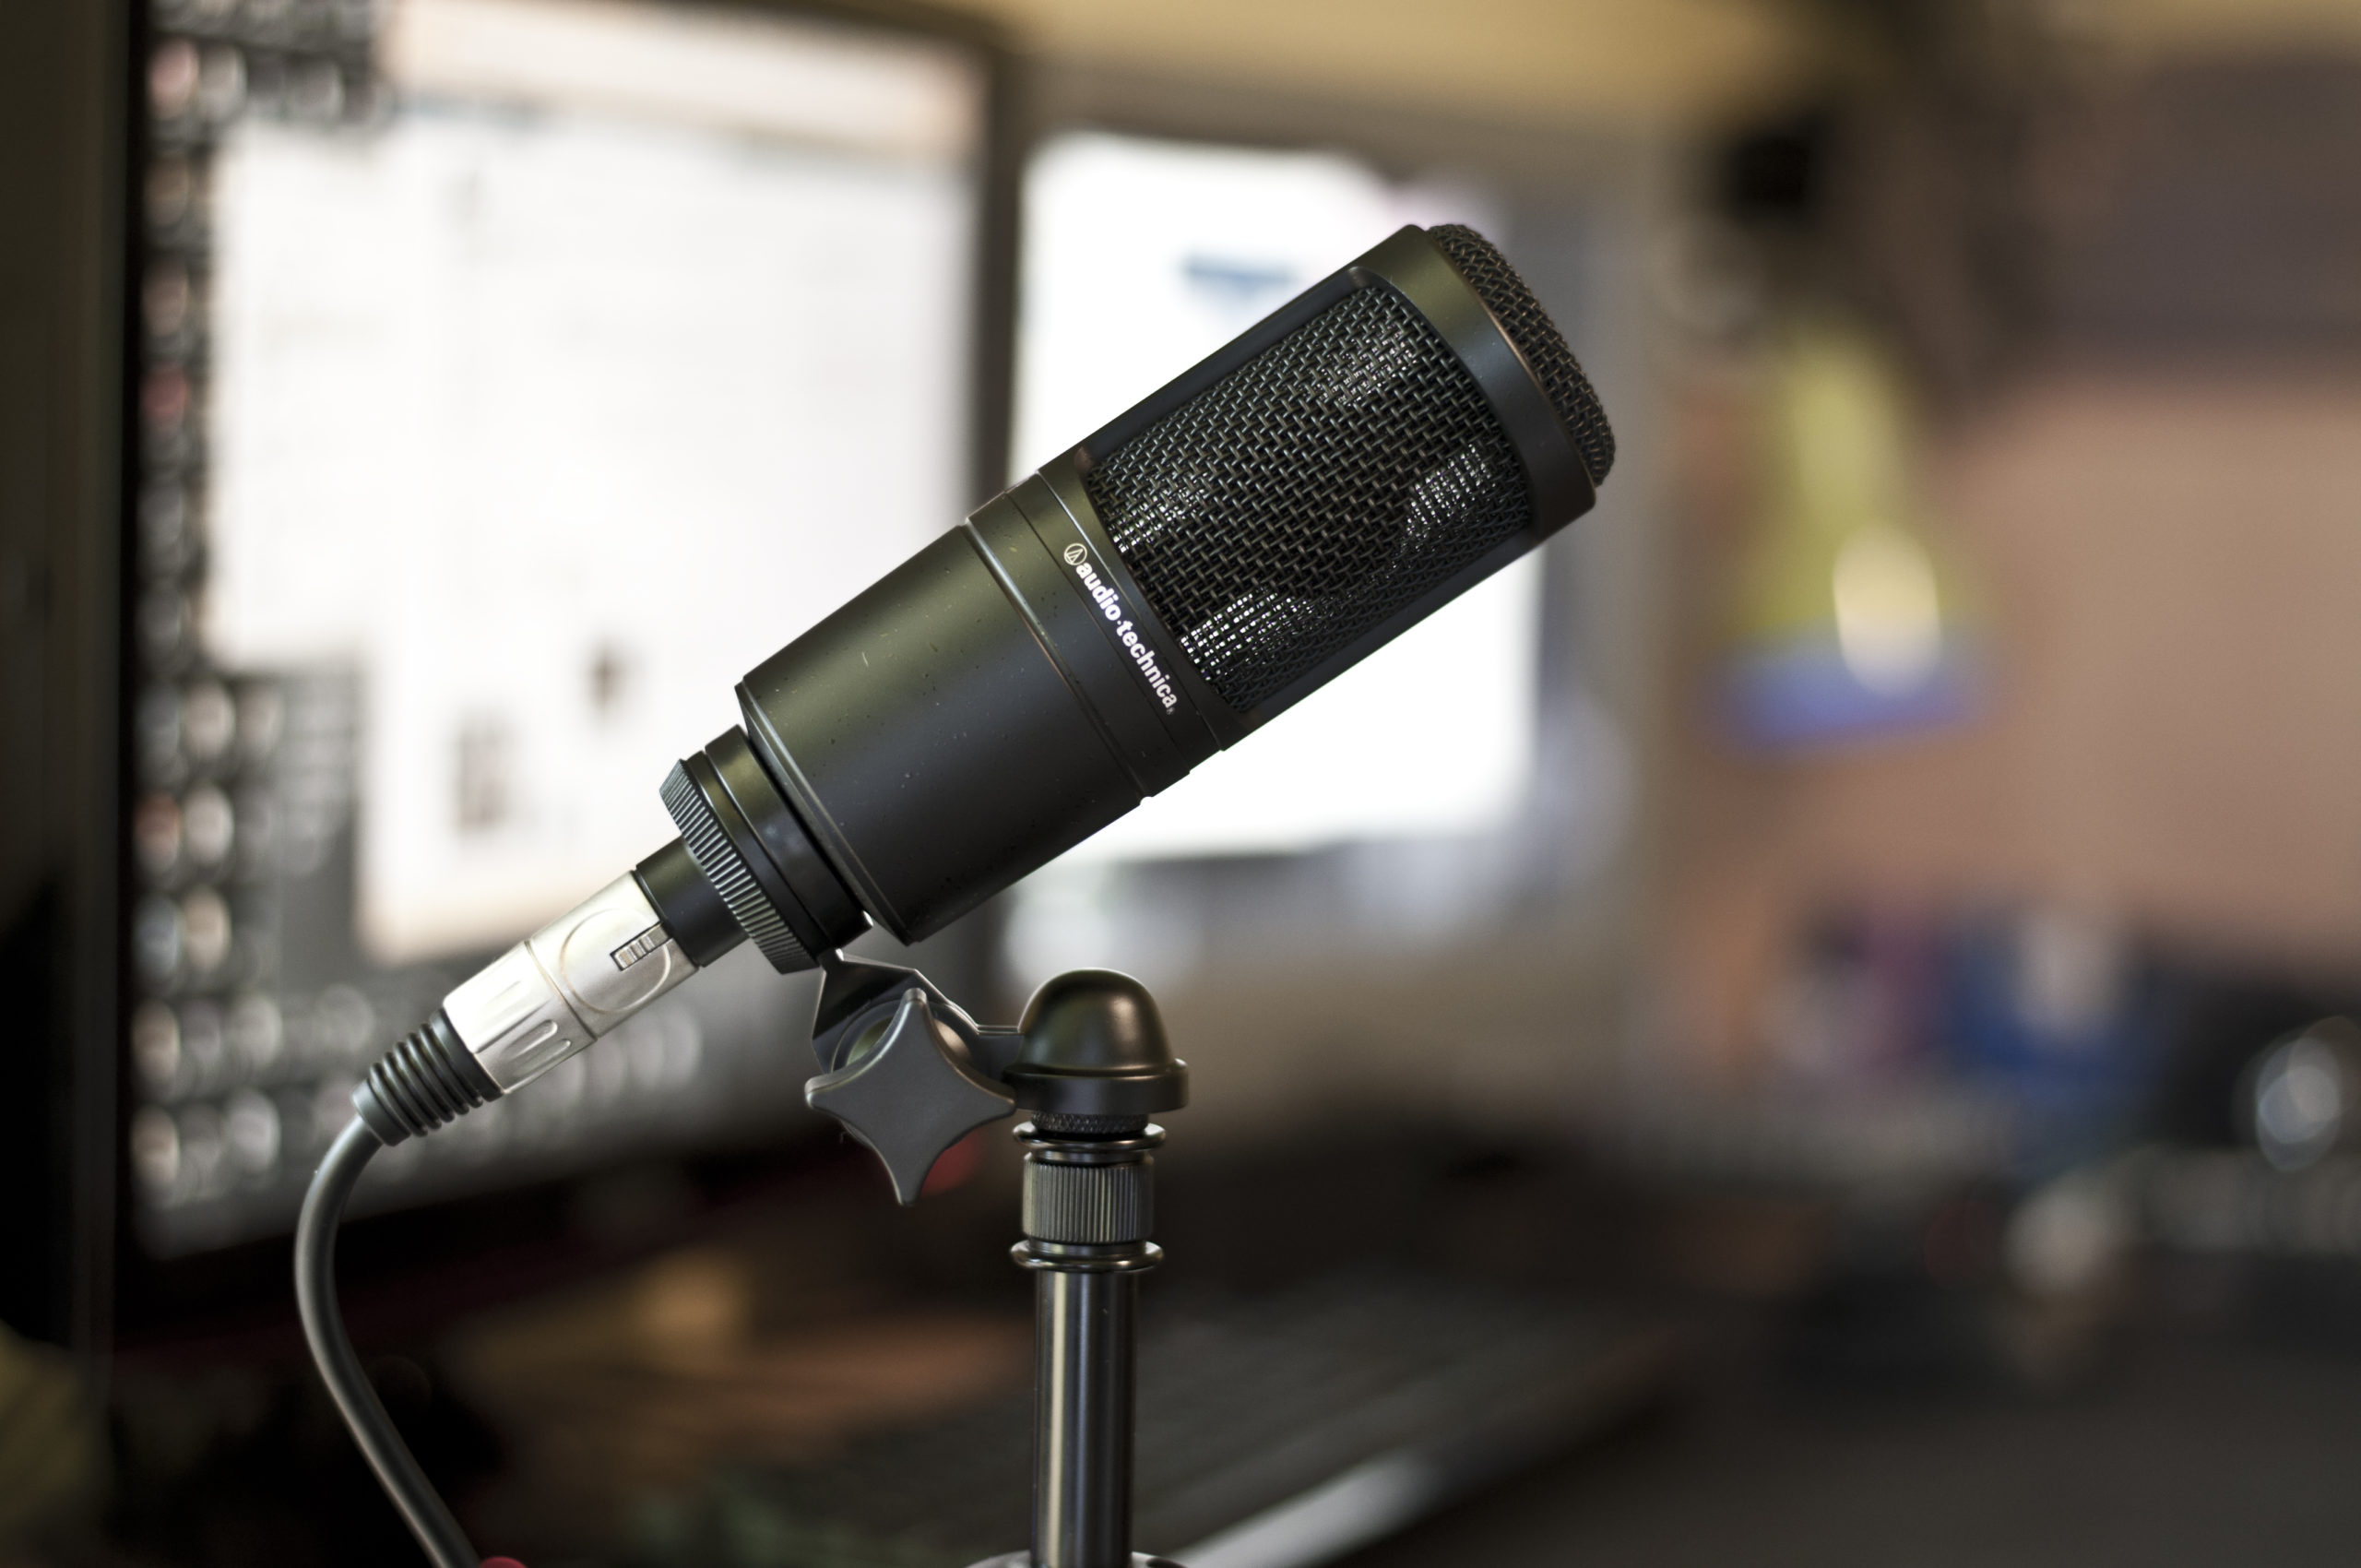
Condensers, especially the large diaphragm sort (translation: the ones you see singers using in the studio shots in music videos, or radio presenters, see the pic above of the AT2020) need a bit better support though, as they are so sensitive even banging the desk or stand will be audible. You can just be careful and use a proper stand a little away from where you are recording. I would recommend acquiring a stand for a condenser though, as they tend to be fragile and you don’t want your pride and joy hitting the deck. These are not expensive (Neewer ones are from around £8-10 upwards on Amazon) or you can also use a shockmount.
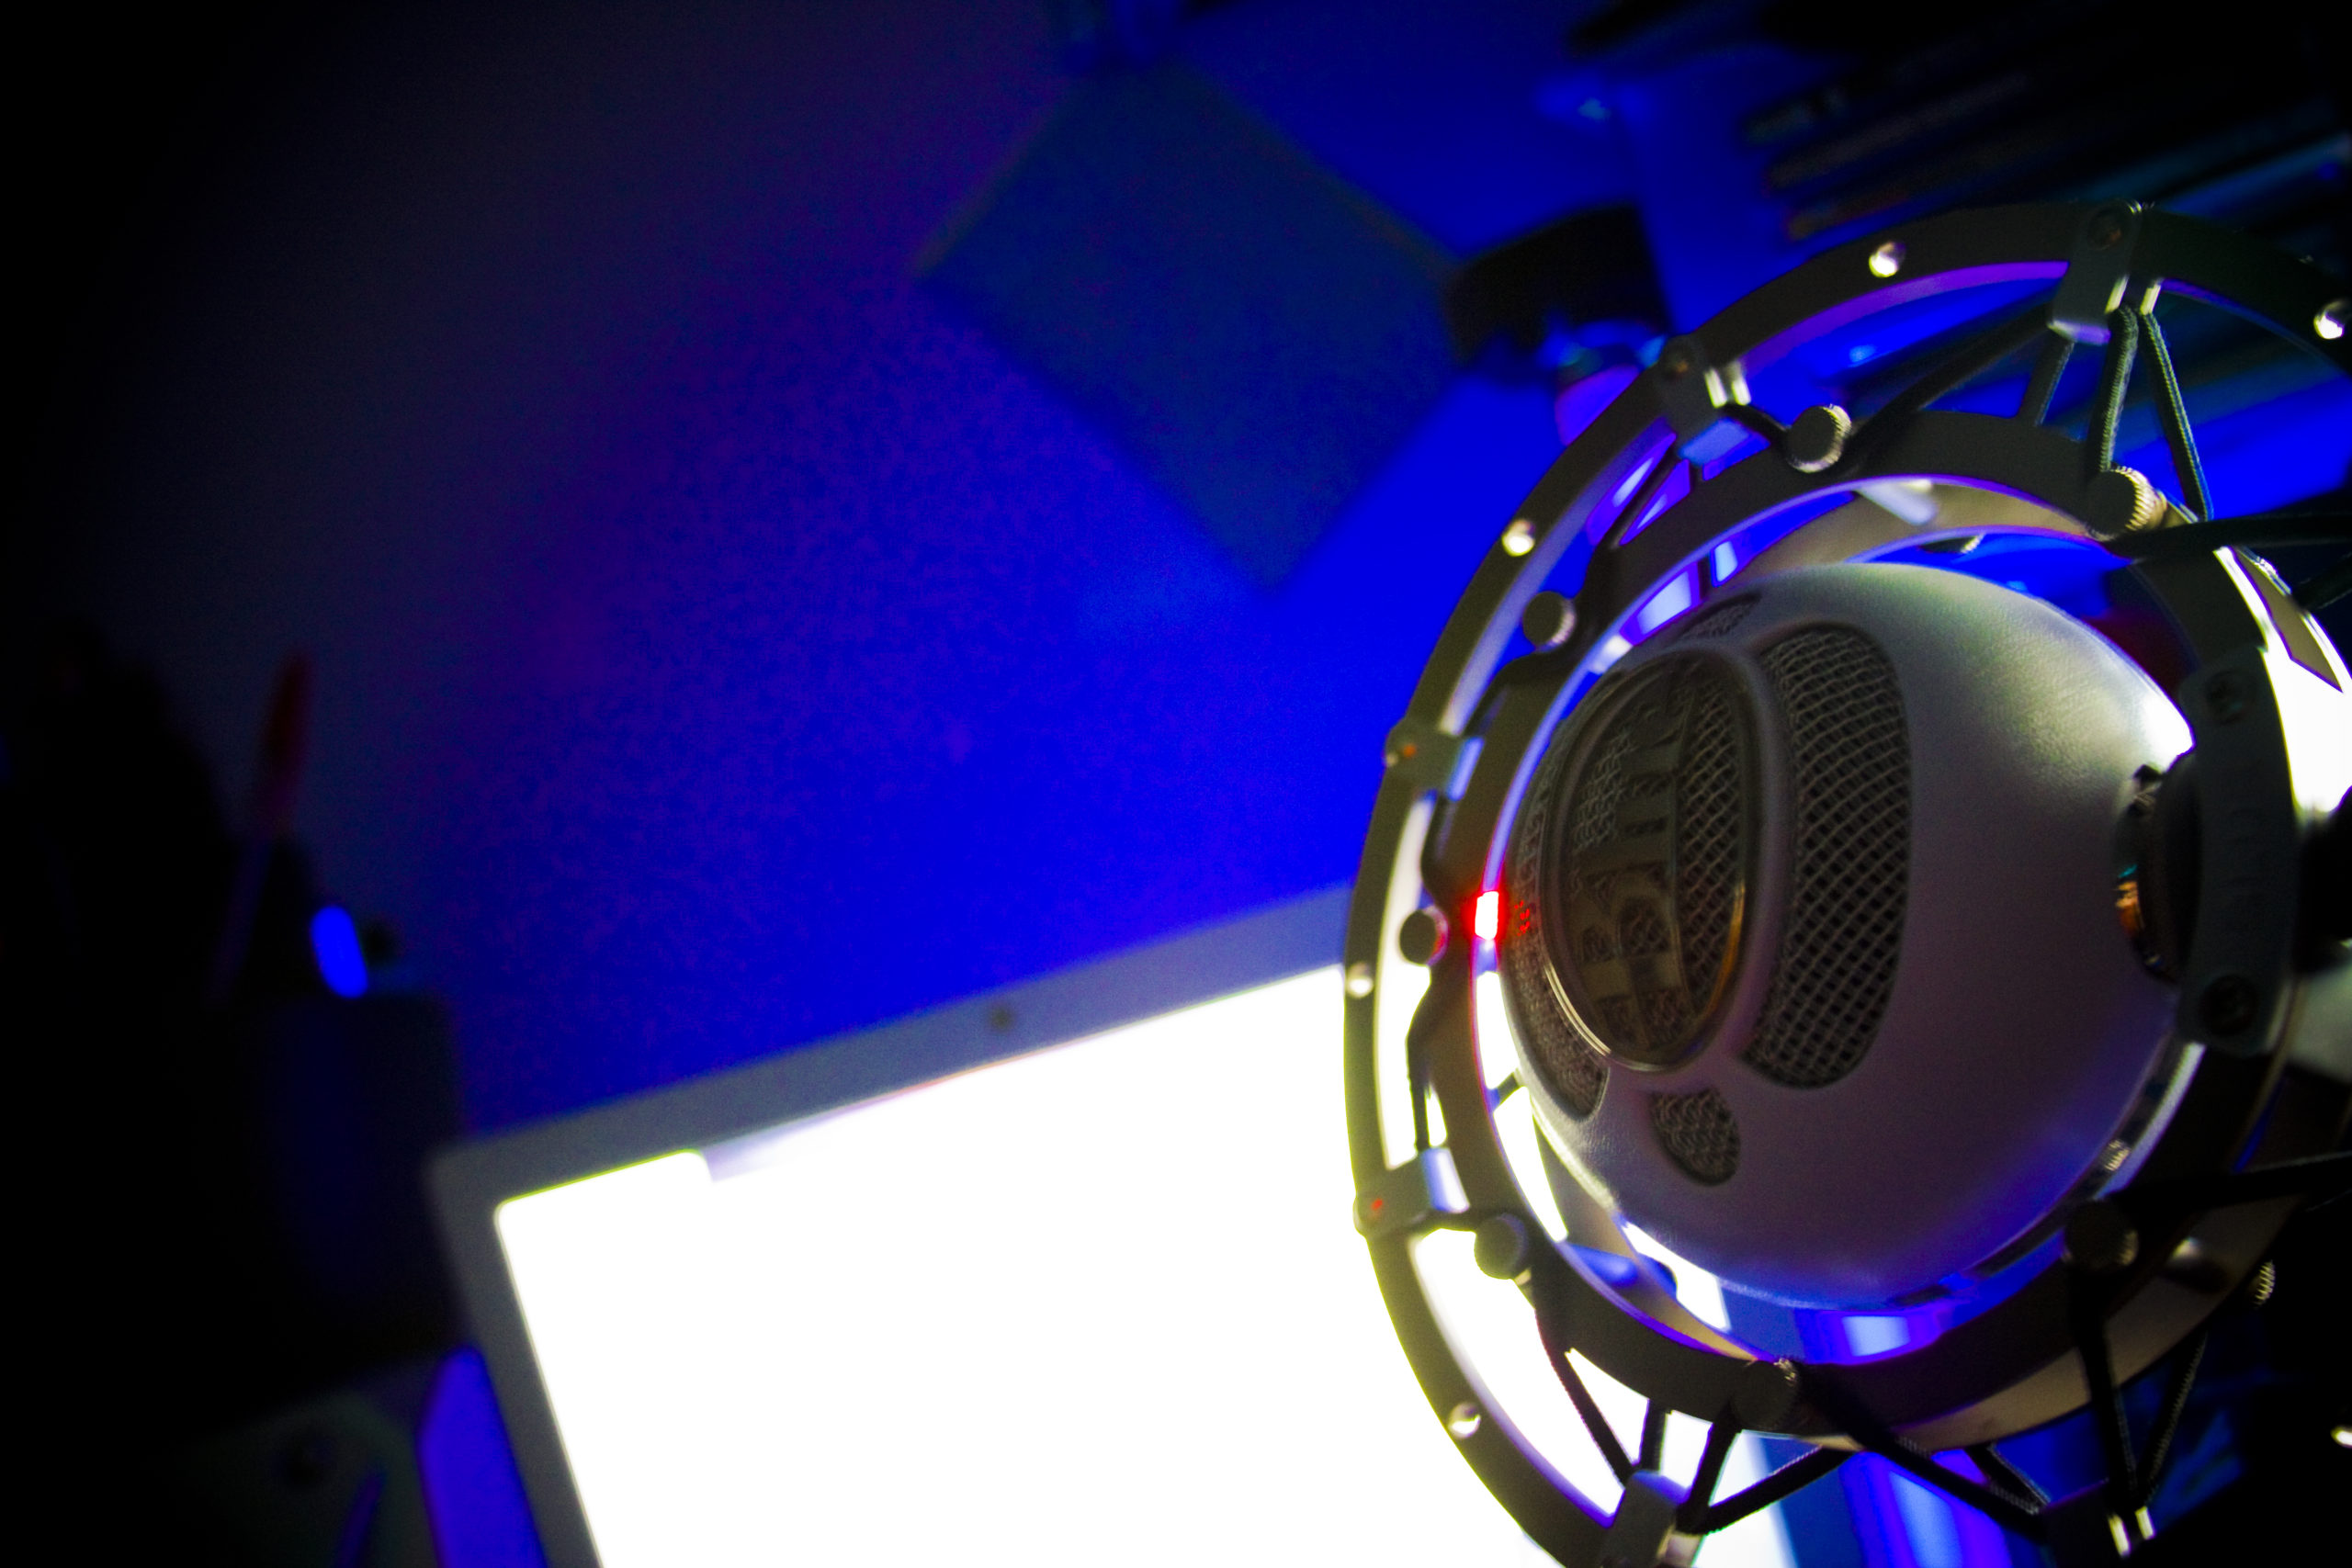
Shockmounts are Heath Robinson devices that suspend your mic in a cradle of rubberbands, sounds a looks a little odd but works. Again they don’t have to be expensive, I guess you could make one but as they are around £6-10+ on Amazon not sure it would be worth it. Also you don’t NEED this like with the pop shield, it just makes things easier. If you’re careful about banging the stand or table you’ll be fine. Make sure the diameter of your mic will fit the mount though, mine is a funny one, I use the Koolertron mount and it works fine, but other mics need different mounts. If in doubt, get the mic first, measure it, and ask. Or find one that someone you know has the same mic uses.
Another thing to think about is if you have guests or cohosts in person on your podcast, you will of course need to accomodate those.
Dynamic mics really need to be one per person. You can share by passing the mic around to being with, you might need to edit the pauses and it might sound stilted as people wait their turn and you miss the moment. And turning up the recording volume will result in a lot of noise.
Condensers being more sensitive can be shared by more than one person depending on type (you won’t get very far trying to record two people with a shotgun mic) but having more than one mic means having some sort of mixer, or an interface with more than one input. We’ll cover that more in part four.
Each mic needs a stand or somewhere to live, maybe a shockmount, cable, and space for everyone – which reminds me…
Outta Space Into The Closet
The space where you record is as important as the mic you use to record it – in fact they are inter-related. We touched on before that certain mics are better for noisy spaces, and others are good for quieter ones. I sometimes record in the bathroom, singing in the shower that bright echo might sound cool, but not always so welcome when recording. It can sound a bit harsh, and of course you can add echo with those plugins mentioned in part two but removing it is far harder. It’s best if you can to record in what they call a ‘dry’ space, no echo, and ‘dead’ sounding.
Soft furnishings, cloth, cushions, towels, foam ‘soak’ up those echoes as if it was water, so recording in those spaces sounds more ‘studio-like’. Some people record in the closet which doesn’t mean they are secretly queer – literally inside the wardrobe as the clothes work well to soak up the sound. That doesn’t work well for groups though unless you have a Narnia-sized wardrobe.
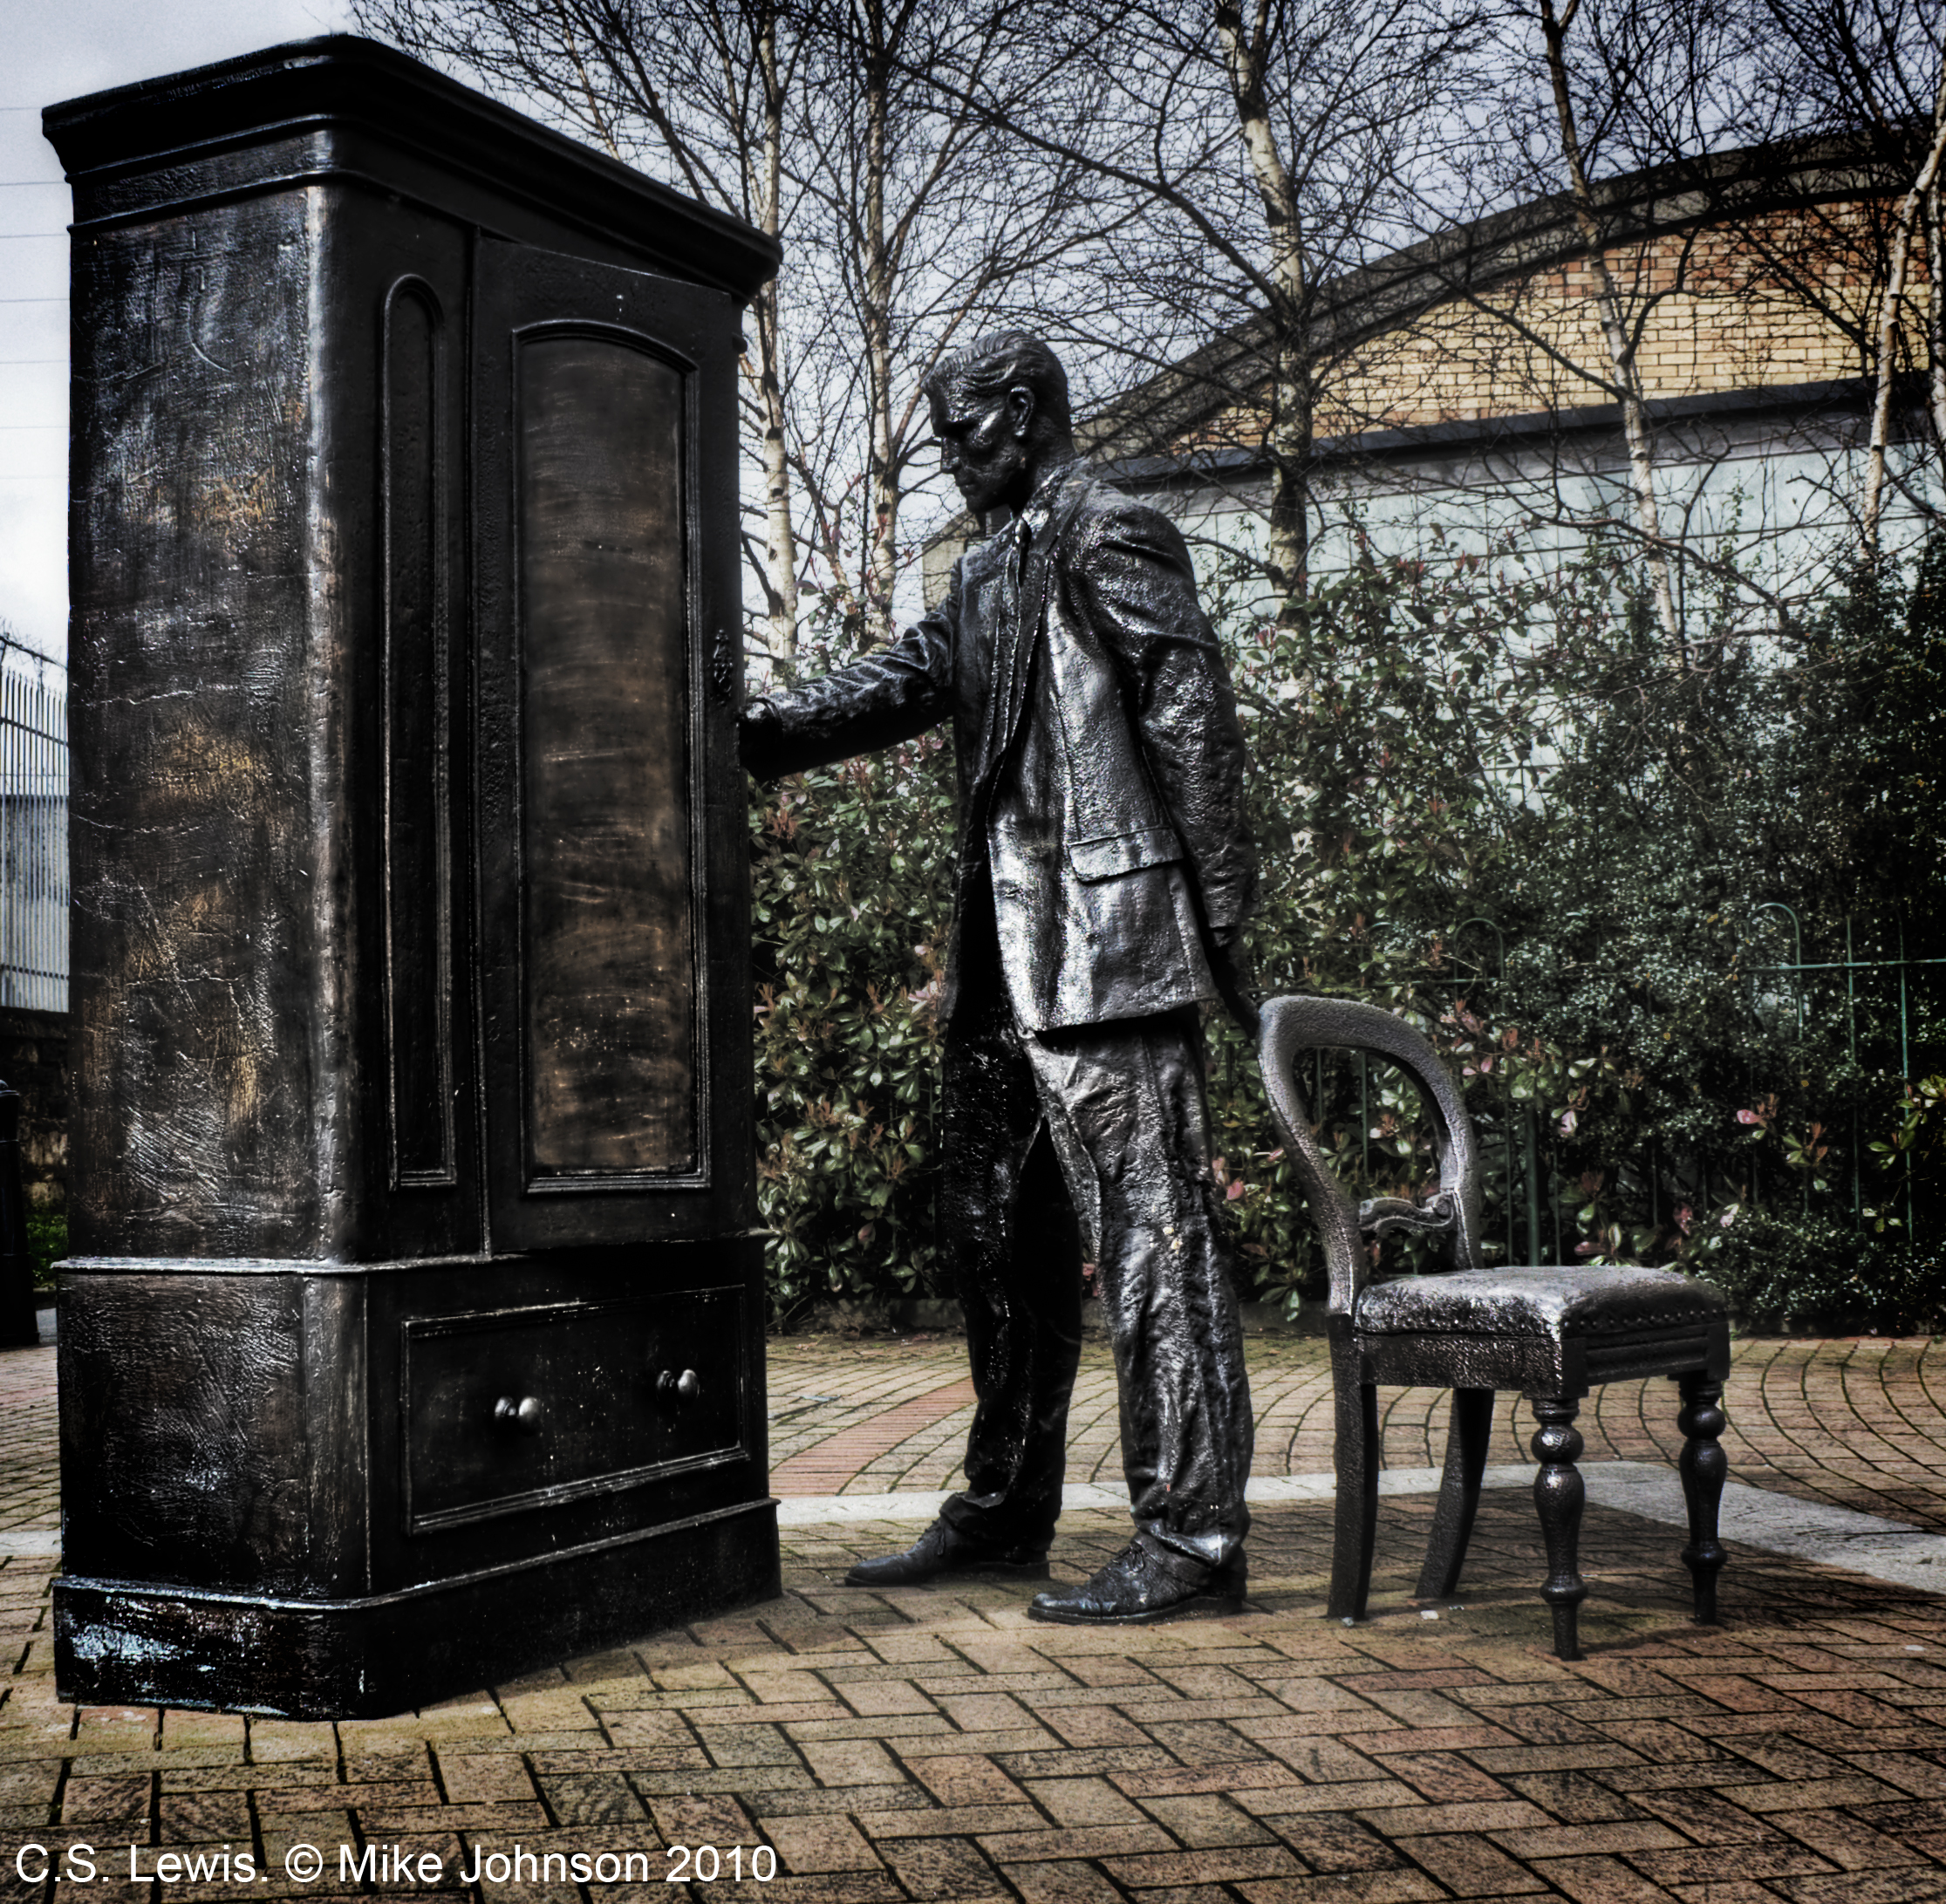
Another classic trick for travelling radio journalists is to record under a duvet or blankets, or towels. Try it, you will look really silly but it will sound amazing, well more amazing that usual, voila instant studio sound!
It’s not always possible to record with a towel over your head, but you can improve the space – use a clothes drier or hooks to hang blankets around and most importantly behind (remember the mic if it’s cardioid is picking up sound in front of it, that includes behind you). Now pro studios use fibreglass panels, acoustic foam, even carpets to deaden the sound. I’m not suggesting you hang bits of Carpetright’s finest on the wall, but you can create a ‘fort’ around your microphone with books, cushions, even buy some cheap foam or an old foam topper and create a miniature recording booth. I have some cheap foam on the slow-boat from China to make something similar, in fact.
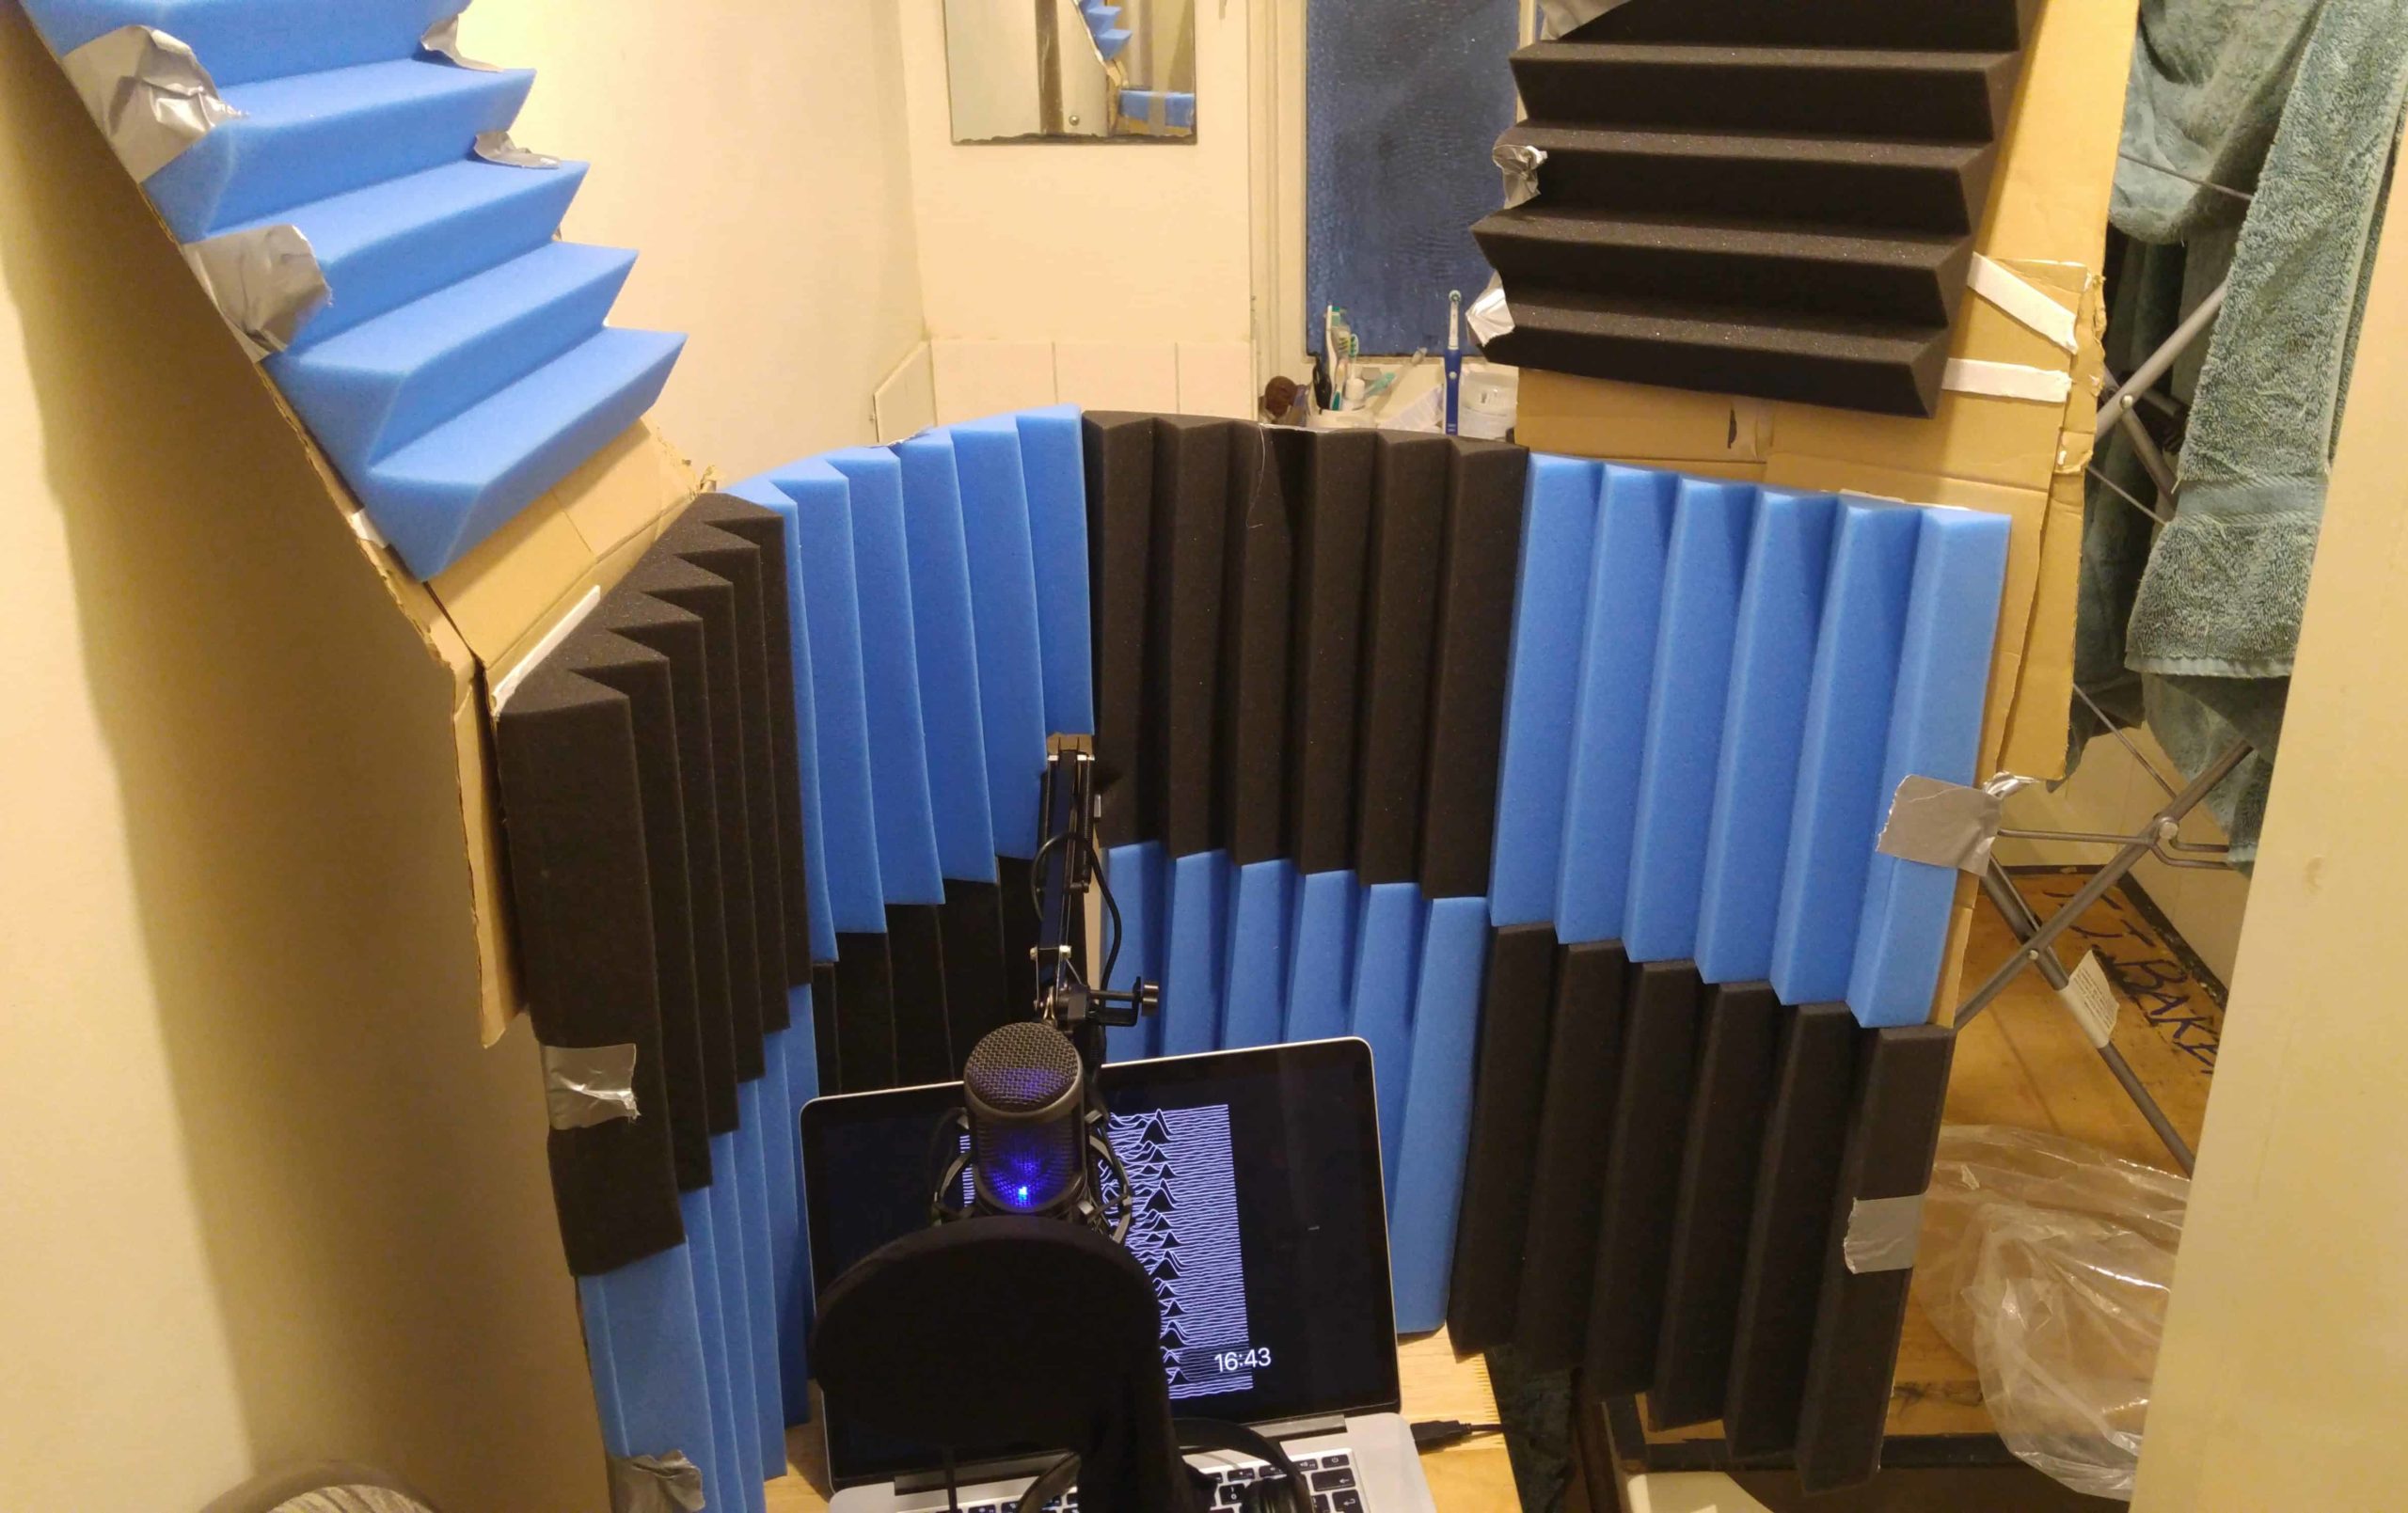
And if that isn’t possible…the space is noisy or ‘wet’, then get closer to the mic. Won’t fix it completely especially in busy spaces with a lot of people, but if you are more audible than what’s called ‘room tone’ then it won’t sound as bad. Experiment with where you record, you’ll find corners of the room are particularly reflective or bassy, so you might want to face them or move away from them.
And a dynamic mic might not pick up so much ‘room tone’, and there are plugins for free which can change how you sound in relation to the microphone which might help, transient designer plugins, or noise reduction plugins which tend to be paid or not that good apart from ReaFIR and Audition’s excellent built-in NR comes for free – but as always it’s best to get it right first time.
Coming up in part four: I’ll talk about interfaces vs mixers, virtuality that doesn’t involve Jay-Kay, headphones and formats.


Leave a Comment! Be nice….